

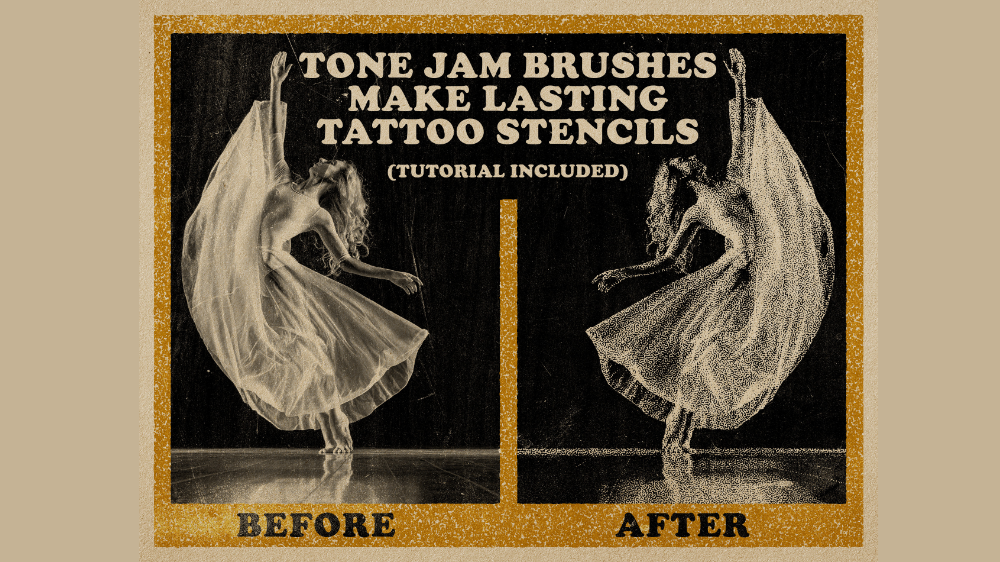
Halftone brushes can be used to create a tattoo stencil in Procreate quickly and easily with a range of tonal values that won't easily wipe away! You don't even need an inkjet stencil printer. Just follow these easy steps to use Tone Jam to make your own unique collection of awesome stencils.
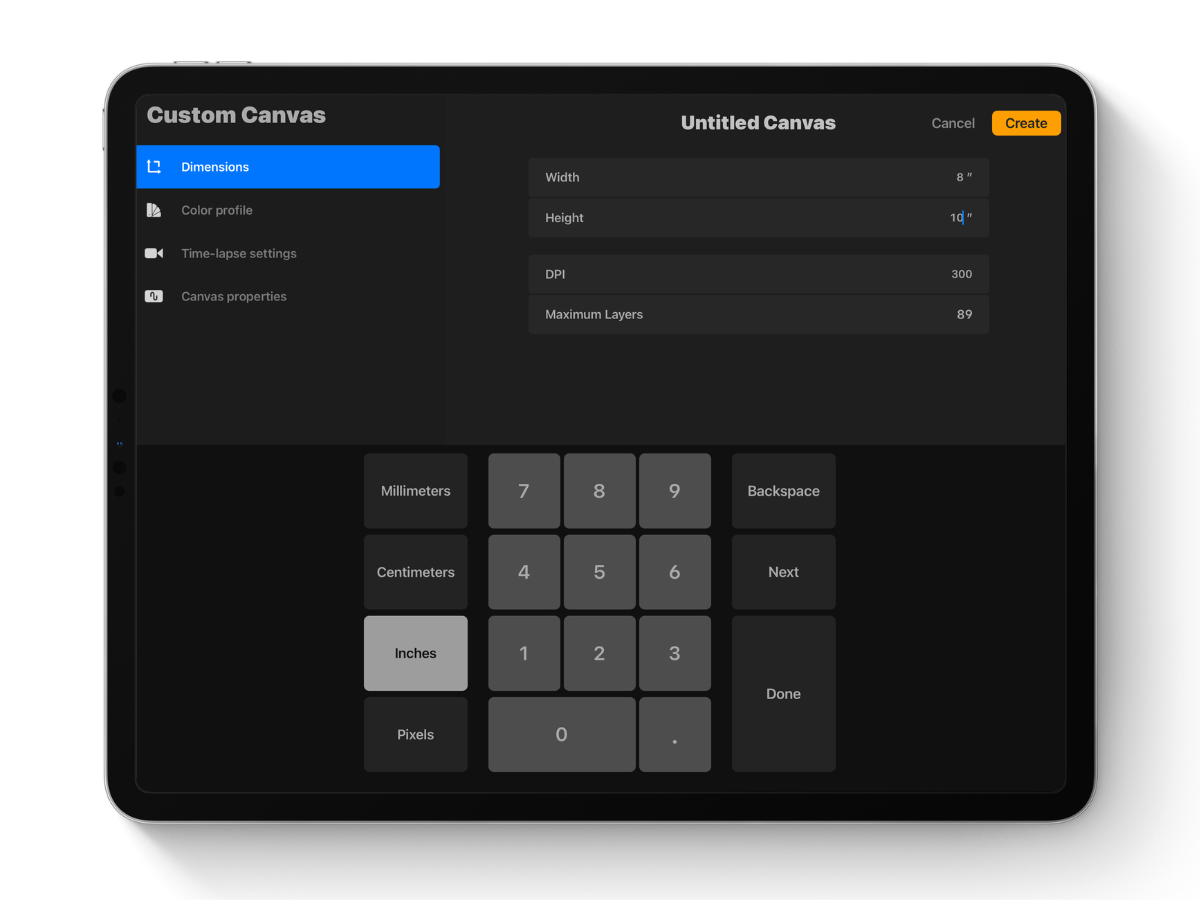
Open a New Canvas in Procreate (8X10 300DPI)
Select the Tone Jam brush called "Turing X-Light"

With black selected as your active color, cover the entire canvas with the Turing pattern.

Add a New Layer by pressing the + in Layers Window

Tap the wrench icon. Click "Add," "Insert a photo," and choose an image from your photos or files.


If your image is in color, tap the Magic Wand Icon and select "Hue, Saturation, Brightness."
Move the Saturation toggle all the way to the left to make the image grayscale.

Next, Find the layer with your artwork in the Layers Window, Tap the [N] and change the Layer Blending mode to "Hard Mix."


Highlight the layer with the Turing Pattern fill on it, and ensure that this layer is below your artwork layer.

Tap the Magic Wand Icon and Select "Gaussian Blur."
Slide your finger or Apple Pencil to the right on the screen to adjust the level of Gaussian Blur to approximately 2%. Adjust to your personal preference.

With your artwork layer active, continue to adjust values in the image by selecting the Magic Wand icon and "Curves"


If you'd like to scale the pattern size up, select the Turing Fill layer, tap the Arrow Icon and select Uniform.
Scale the pattern to your preference.


This process can be done with any of the brushes in Tone Jam.
Try experimenting with other brushes until you find your favorite stencil style!

